-
main-collection-product-grid

Carrot Seeds - Rainbow Blend
Pull a color, any color, delightfully fun to harvestCarrot Seeds - Rainbow Blend
Pull a color, any color, delightfully fun to harvestRegular price As Low As $6.99Regular priceUnit price per -
main-collection-product-grid
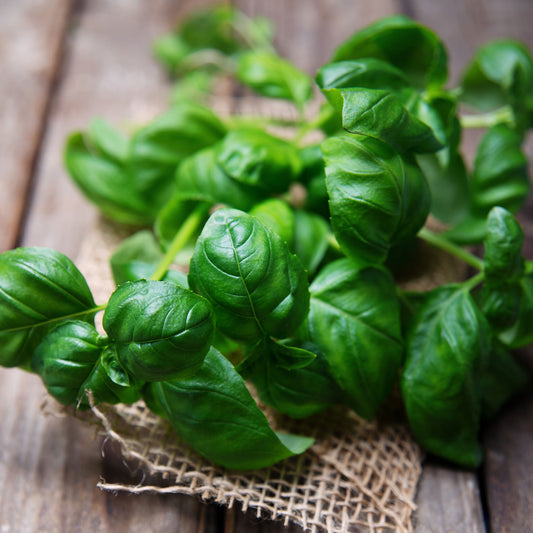
Basil Seeds - Sweet Basil (common)
Sweetest, most common variety in Italian cuisineBasil Seeds - Sweet Basil (common)
Sweetest, most common variety in Italian cuisineRegular price As Low As $4.99Regular priceUnit price per -
main-collection-product-grid

Lettuce Seeds - Buttercrunch
Popular, easy-to-grow lettuce that produces very tender rosettesLettuce Seeds - Buttercrunch
Popular, easy-to-grow lettuce that produces very tender rosettesRegular price As Low As $4.99Regular priceUnit price per -
main-collection-product-grid

Cilantro/Coriander Seeds (Organic) - Long Standing
Slow to bolt variety, must have for Asian and Mexican cookingCilantro/Coriander Seeds (Organic) - Long Standing
Slow to bolt variety, must have for Asian and Mexican cookingRegular price As Low As $6.99Regular priceUnit price per -
main-collection-product-grid

Lettuce Seeds - Leaf Blend
Mixture of eight different lettuce leavesLettuce Seeds - Leaf Blend
Mixture of eight different lettuce leavesRegular price As Low As $4.99Regular priceUnit price per -
main-collection-product-grid

Cucumber Seeds (Pickling) - Boston Pickling
Excellent flavor for pickling or slicingCucumber Seeds (Pickling) - Boston Pickling
Excellent flavor for pickling or slicingRegular price As Low As $4.99Regular priceUnit price per -
main-collection-product-grid

Parsley Seeds - Italian
Robust and fresh, flat leaves commonly used in cookingParsley Seeds - Italian
Robust and fresh, flat leaves commonly used in cookingRegular price As Low As $4.99Regular priceUnit price per -
main-collection-product-grid
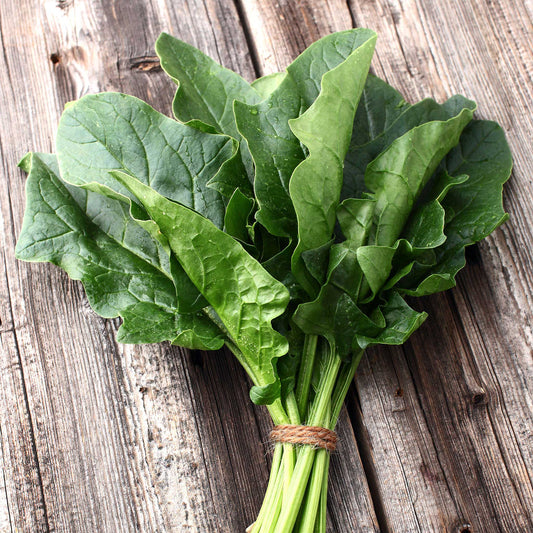
Spinach Seeds - Bloomsdale Long Standing
Slow to bolt variety of meaty, dark green leavesSpinach Seeds - Bloomsdale Long Standing
Slow to bolt variety of meaty, dark green leavesRegular price As Low As $4.99Regular priceUnit price per -
main-collection-product-grid

Arugula Seeds (Organic) - Rocket
Easy to grow peppery addition to salads and sandwichesSaleArugula Seeds (Organic) - Rocket
Easy to grow peppery addition to salads and sandwichesRegular price As Low As $6.99Regular priceUnit price per$155.99Sale price As Low As $6.99Sale -
main-collection-product-grid

Carrot Seeds - Danvers 126
Long and thin with a delicious tasteCarrot Seeds - Danvers 126
Long and thin with a delicious tasteRegular price As Low As $4.99Regular priceUnit price per -
main-collection-product-grid

Cucumber Seeds - Marketer
Mild flavor variety for hot, humid areasCucumber Seeds - Marketer
Mild flavor variety for hot, humid areasRegular price As Low As $4.99Regular priceUnit price per -
main-collection-product-grid

Dill Seeds (Organic) - Bouquet
Large blooms produce the preferred dill for pickling and cut flower useDill Seeds (Organic) - Bouquet
Large blooms produce the preferred dill for pickling and cut flower useRegular price As Low As $6.99Regular priceUnit price per -
main-collection-product-grid

Carrot Seeds - Tendersweet
Both tender and sweet, excellent all-around carrotCarrot Seeds - Tendersweet
Both tender and sweet, excellent all-around carrotRegular price As Low As $4.99Regular priceUnit price per -
main-collection-product-grid

Broccoli Seeds - Calabrese
Popular broccoli among home gardeners; great flavorSaleBroccoli Seeds - Calabrese
Popular broccoli among home gardeners; great flavorRegular price As Low As $4.99Regular priceUnit price per$46.99Sale price As Low As $4.99Sale -
main-collection-product-grid

Beet Seeds - Rainbow Mix
Give any dish a pop of color with this rainbowBeet Seeds - Rainbow Mix
Give any dish a pop of color with this rainbowRegular price As Low As $4.99Regular priceUnit price per -
main-collection-product-grid

Broccoli Seeds (Organic) - Calabrese
Slow bolting broccoli that produces over a long seasonBroccoli Seeds (Organic) - Calabrese
Slow bolting broccoli that produces over a long seasonRegular price As Low As $6.99Regular priceUnit price per -
main-collection-product-grid

Radish Seeds - Watermelon
Beautiful addition to salads and pickling jarsRadish Seeds - Watermelon
Beautiful addition to salads and pickling jarsRegular price As Low As $4.99Regular priceUnit price per -
main-collection-product-grid

Dill Seeds - Bouquet (Common)
Widely used in picklingDill Seeds - Bouquet (Common)
Widely used in picklingRegular price As Low As $4.99Regular priceUnit price per -
main-collection-product-grid
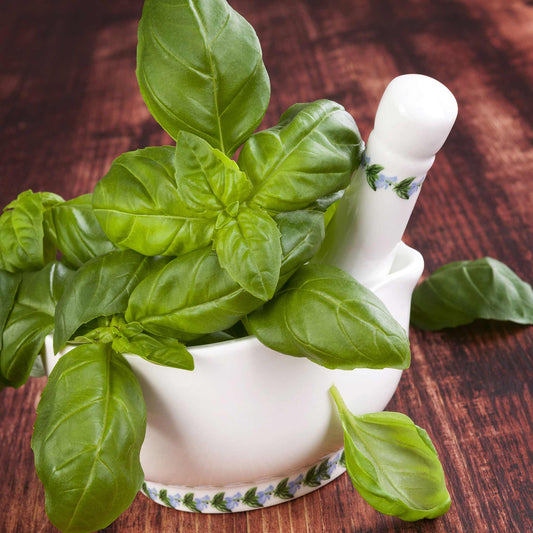
Basil Seeds (Organic) - Genovese
THE sweet basil to satisfy your pesto and caprese salad dreamsBasil Seeds (Organic) - Genovese
THE sweet basil to satisfy your pesto and caprese salad dreamsRegular price As Low As $6.99Regular priceUnit price per -
main-collection-product-grid

Cucumber Seeds - Mexican Sour Gherkin
Lilliputian cucumbers with a hint of lemonCucumber Seeds - Mexican Sour Gherkin
Lilliputian cucumbers with a hint of lemonRegular price $5.99Regular priceUnit price per -
main-collection-product-grid

Cauliflower Seeds - Snowball Y Improved
Immaculately white, frost tolerantSaleCauliflower Seeds - Snowball Y Improved
Immaculately white, frost tolerantRegular price As Low As $4.99Regular priceUnit price per$75.99Sale price As Low As $4.99Sale -
main-collection-product-grid
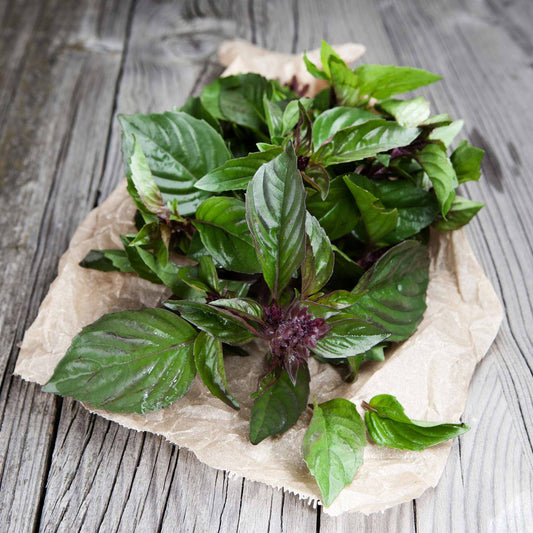
Basil Seeds - Thai
Sweet flavor reminiscent of anise, licorice, and cloveBasil Seeds - Thai
Sweet flavor reminiscent of anise, licorice, and cloveRegular price As Low As $5.49Regular priceUnit price per -
main-collection-product-grid

Cilantro/Coriander Seeds
Fresh or dried, adds a delicious flavor to soups, salads and salsaCilantro/Coriander Seeds
Fresh or dried, adds a delicious flavor to soups, salads and salsaRegular price As Low As $4.99Regular priceUnit price per -
main-collection-product-grid

Lettuce Seeds (Organic) - Garden Blend
A warm weather tolerant mix of colorful greensLettuce Seeds (Organic) - Garden Blend
A warm weather tolerant mix of colorful greensRegular price As Low As $6.99Regular priceUnit price per


Grow your own microgreens at home!
- Harvested just 10 to 14 days after germination
- Packed with nutrients such as potassium, iron, zinc, and magnesium
- Used in salads, sandwiches, stir-fry, juice, soup, and more
- An easy and fun countertop gardening project
You may have noticed that microgreens are gaining a lot of popularity. Microgreens have begun to make a consistent appearance at health food stores and farmers' markets. These miniature plants are a delicious addition to salads, sandwiches, soups—microgreens can be incorporated into nearly any dish for a nutritional boost!
The awesome thing about microgreens is that you can grow them on your own schedule. Sow seeds any time of the year, in any region of the world, and you’re sure to have harvestable microgreens in 10 to 14 days! Sprouts to throw on top of your summer garden salad? Sure! Fresh greens to garnish tomato soup in the middle of winter? Absolutely.
You can grow your own microgreens at home without a fancy setup. Microgreens can be grown in any hardiness zone because these seeds are grown and harvested indoors. All you need to grow your own microgreens at home is a seedling tray, potting soil, microgreen seeds, and potentially a grow light and/or heat mat.
Set up a seedlings table by a well-lit window, or if you’re fortunate enough to have a heated greenhouse, even better. If not, consider investing in a heat mat and grow light. Generally, growing microgreens involves harvesting seedlings when the young starts have sprouted their first set of true leaves.
To grow microgreens, prepare a tray with soil or another growing medium. Only fill the tray about three-fourths of the way full, as you’ll be adding another layer of soil to cover the seeds. Moisten the soil so you won’t have to water the seeds in. You’ll likely want to use a tray without cells, because you will be seedling the tray very thickly.
Some larger seeds like beans and melons you may want to soak prior to seeding. Multi-seed the tray, and tray to make the seed coverage as even as possible. Cover with a shallow layer of wet soll. Cover with a humidity dome if you have one—if not, cover the tray with plastic wrap or a clear plastic container to lock moisture and heat inside, creating an ideal environment for your seedlings to grow.
Yes, growing microgreens is really that easy. Your seedlings will be ready to harvest in 10 to 14 days. You’ll know your microgreens are harvestable when they produce their first set of true leaves, and are one to three inches tall. Take a clean pair of scissors and cut the seedlings just above the soil level. Rinse in cold water, allow to dry, and incorporate the raw (or cooked) microgreens into any dish you can think of!